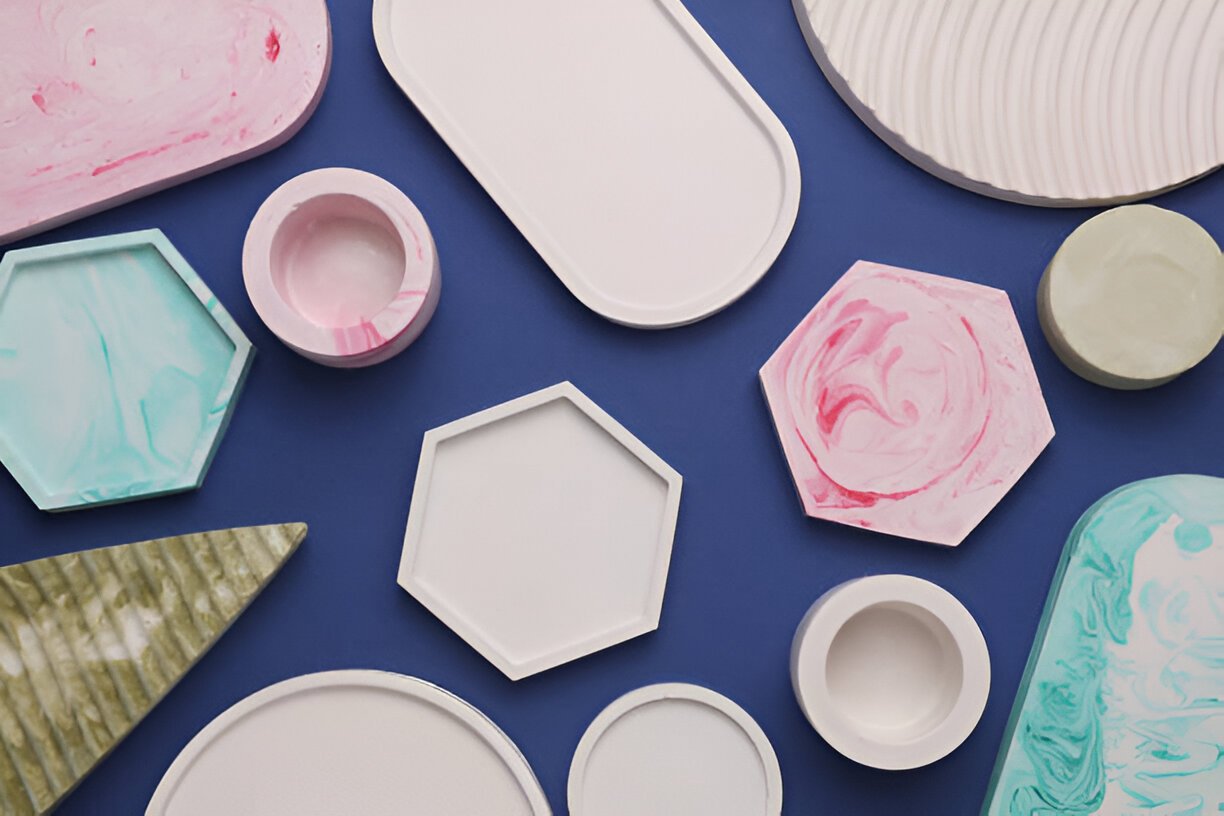
Jesmonite has taken the DIY world by storm. Crafters in Singapore are discovering its versatility and ease of use. Whether you’re making coasters, trays, or decorative items, Jesmonite offers endless creative possibilities.
In this guide, you’ll learn how to use a Jesmonite starter kit from start to finish. We’ll cover tools, safety, common uses, and beginner tips. Let’s dive in.
What Is a Jesmonite Starter Kit?
A Jesmonite starter kit is a beginner-friendly package. It contains all the essential components to begin crafting right away. Most kits include:
- Jesmonite base (AC100 or similar)
- Liquid resin component
- Mixing tools or containers
- Silicone molds
- Pigments or colorants
- Measuring spoons or cups
- Instruction manual
These kits are designed to be accessible. You don’t need prior experience with resins or casting.
Why Jesmonite Is Popular in Singapore
In Singapore’s humid climate, Jesmonite stands out. Unlike traditional resins, it is water-based and low in VOCs (Volatile Organic Compounds). This makes it safer to use indoors, especially in HDB flats and small studios.
Here are more reasons why it’s gaining popularity:
- Quick setting time (15–30 minutes)
- No strong odours
- Non-toxic
- Eco-conscious choice
- Durable and lightweight
It’s perfect for crafting sessions at home or weekend workshops.
Step-by-Step Guide to Using a Jesmonite Starter Kit
1. Prepare Your Workspace
Choose a flat, well-ventilated area. Even though Jesmonite is safe, proper airflow helps with drying. Lay down a plastic sheet or newspaper to catch spills. Keep paper towels nearby.
Have all your tools and materials within arm’s reach.
2. Understand the Mixing Ratio
The standard mix for AC100 is 2.5:1 by weight – two and a half parts powder to one part liquid. Always measure by weight, not volume.
Use a digital scale for accuracy. If your kit includes a manual, follow the included ratio carefully.
3. Mix the Jesmonite
Pour the liquid into a mixing cup first. Then add the powder gradually. Stir constantly while adding. Mix thoroughly for about 2–3 minutes.
Your mixture should be smooth and lump-free. Avoid whipping in too much air.
4. Add Pigments (Optional)
If your kit includes pigments, this is when you add them. Start with a small amount and mix well. Jesmonite pigments are concentrated. A little goes a long way.
You can also swirl colors or create layers for a marbled effect.
5. Pour Into the Mold
Slowly pour the mixture into your silicone mold. Tap the mold gently to release any trapped bubbles. Use a toothpick or stick to pop surface bubbles.
You can tilt or swirl the mold to create patterns.
6. Let It Set
Jesmonite starts setting within 15–20 minutes. However, wait at least 30–40 minutes before removing the piece from the mold.
Let your item cure for 24 hours for maximum strength.
7. Finishing Touches
After curing, you can:
- Sand the edges for a smooth finish
- Polish the surface
- Seal it with a water-based sealant for protection
Sealing is recommended, especially for items that will be exposed to moisture.
DIY Project Ideas for Singapore Homes
Jesmonite is ideal for modern, compact living spaces. Here are a few easy projects:
- Coasters: Perfect for humid Singapore weather – water-resistant and stylish
- Trinket trays: Great for organising jewellery or keys
- Mini planters: Add greenery to your HDB flat
- Wall art: Combine colors for abstract pieces
- Soap dishes: Durable and easy to clean
You can also personalize your projects by embedding leaves, stones, or even gold flakes.
Safety Tips for First-Time Users
Jesmonite is generally safe. But here are a few precautions:
- Wear gloves to avoid skin contact
- Use a mask if sanding (fine dust can irritate lungs)
- Clean tools before the mixture hardens
- Store components in a cool, dry place
Dispose of leftover mixture responsibly. Do not pour it down the sink.
Where to Buy Jesmonite Starter Kits in Singapore
Many art supply stores in Singapore now stock Jesmonite kits. You can also find them through online platforms that ship locally. Always check if the seller includes safety sheets and instructions.
Look for beginner kits with clear guides and reusable molds.
Why Start with a Kit?
Jesmonite starter kits simplify your first project. They remove the guesswork from buying individual components. Most importantly, they let you focus on the fun part.
In a city like Singapore, where space and time are limited, having a ready-to-use kit encourages more people to try hands-on crafting.
Final Thoughts
Jesmonite starter kits are a gateway to creativity. They offer a clean, safe, and flexible way to craft at home. For Singaporeans looking to explore a new hobby, Jesmonite combines fun with function. From décor to daily-use items, your creations will be both beautiful and practical.
Start small, learn through experience, and let your ideas grow. The best part? Every project is unique.


